
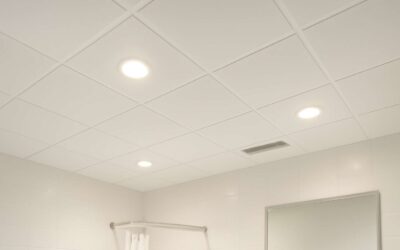
Styrofoam ceiling tiles are a great way to give a room a new look. They are lightweight, waterproof and can be easily painted. The tiles come in a wide variety of designs, patterns and styles. Installing these tiles is a quick and easy DIY project. You don’t need special tools and can install them in just a weekend.
Before installing the tiles, it is important to find a safe surface to adhere them to. This can be a ceiling or a wall. If you need to secure the tiles to a wall, you should use an instant grab adhesive. These products are available at most home improvement stores. It’s best to check the packaging to see if the styrofoam tile you’re considering is fire rated. In addition, it’s best to ask the store owner or manufacturer questions about the safety of the product.
Depending on the brand, you may have to cut some of the tiles while installing them. This can be a hassle, but if you have a good utility knife, it isn’t too hard. Just make sure you keep the edges of the styrofoam tiles at least an inch from the edges of the ceiling.
Once you’ve found a suitable styrofoam tile, you’ll need to determine the size of the tile. Generally, most are 20″ x 20″. Some are even 19.6″ squares. Choose the size that will work with your ceiling.
To install the tiles, begin by drawing a line on the ceiling, starting at one corner and going to the opposite corner. The line will be a right angle. Next, mark the center point with a chalk line. When the two lines meet, you’ve marked the ceiling’s center.
Lay the first styrofoam tile in the corner. Press it gently onto the ceiling. Make sure to spread the mastic evenly along the edge of the tile. Apply the mastic in 1-inch dollops. Do not apply too much mastic, however. Use a small trowel to do so.
Next, line up the next tile in the same right angle as the previous one. Spread the mastic evenly with the putty knife. Add more mastic as needed. Finally, cut the tiles at the end of the row.
Although the Styrofoam ceiling tiles are durable and low cost, they can be difficult to maintain. For this reason, they should be cleaned with a damp cloth and dish soap. A regular dusting of the tile should be enough to keep the material looking its best. However, the foam does absorb dirt and stains more than other materials. Luckily, if the tile is painted, it can be repainted to match your decor.
Styrofoam ceiling tiles are affordable and are easy to install. The tiles are also available in many different colors and patterns. While they don’t offer the same sound or heat insulation as other types of tiles, they can be a great way to insulate rooms and protect from humidity.
Decorative Styrofoam ceiling tiles are becoming more popular in recent years. They offer a stylish look that is sure to please. Customers rave about the quality of the materials and the ease of installation.


0 Comments